Thursday, March 22, 2012

03/23/12- Assignment #9/using Sumopaint/photo presentation handout/Nolasco reading handout


3/23                   

-Class will be held in TECHcenter
-Photographer Presentation assignment handouts given, photographers assigned
-"1000 Words to Describe Photographs" handout given
-Assignment #6 (shoot on City College Campus) photos projected – vote for the best!
-How to use Sumopaint (sumopaint.com) - download images used in class here
-Using image editing software to create a new composition (cutting and pasting)
-Shooting Assignment #9 explained and handout given – using Sumopaint to manupulate images handout
-Reading handout – profile on Claudio Nolasco

For next week:
-BRING: in camera
-BRING: ALL of your image files to prepare to print
-UPLOAD: images to your Tumblr that use Sumopaint Assignment #9.
-READ: Profile on Claudio Nolasco                                   

-------------------------------------------------------------------------------------------------

Assignment #9
Using Sumopaint.com to edit images

*****Images must be uploaded to your Tumblr BEFORE class begins on 03/30!!!!!!*****
If you are unable to upload before class, please come early to class so that you can upload them to my computer. 
Points will be taken off of your grade if your work in handed in late!

Please upload your Before and After images


1-2)         Use the Crop Tool to create a more balanced composition
     
3-4)         Use Auto Levels to adjust one of your images

5-6)         Use Levels to adjust one of your images

7-8)        Use Color Temperature and/or Hue/Saturation to adjust one of your images

9-10)       Use Hue/Saturation to adjust one of your images

11-12)      Use Curves to change the brightness/darkness of an image

13-14)      Use a filter to alter an image

15-16)      Use a different filter to alter an image

17-18)      Use Copy and Paste to create a new composition

19-20)      Use Copy and Paste + a Layer Mode to create a new composition


03/23/12 - Vote!! Assignment # 6 - image compilations

Click on a title to see the images and vote!! (in class on March 23rd)


01 - A picture taken in the NAC
02 - A picture taken in Shepard
03 - A picture taken in Marshak
04 - A picture taking in another City College building (not the ones above)
05 - A picture outside on campus at a low angle
06 - A non-human animal
08 - A college student
09 - An action picture
10 - A nature picture
11 - Something historic
12 - Something modern
13 - A reflection
14 - Looking up
15 - Looking down
16 - Stairs
17 - Escalator
18 - Elevator
19 - A classroom
20 - A comfy chair

voting form is here

Thursday, March 15, 2012

03/16/12 - assignment#8/field trip

Computer generated recreations of Ancient Rome

Tiny slideshow of images from the Met

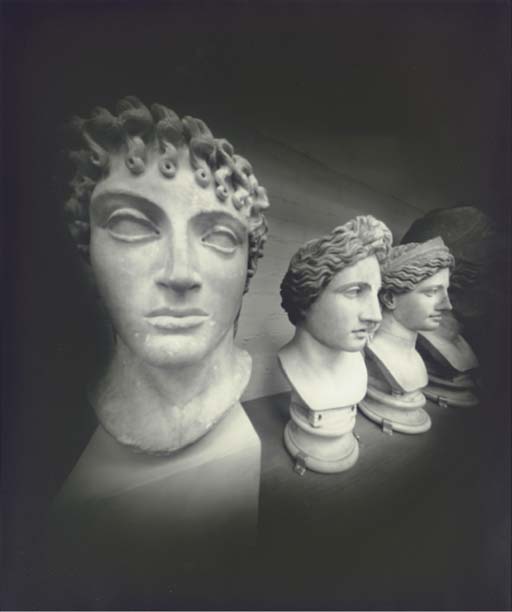
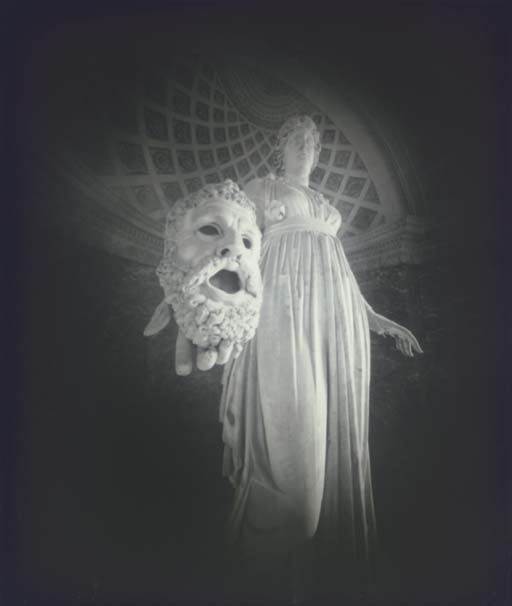
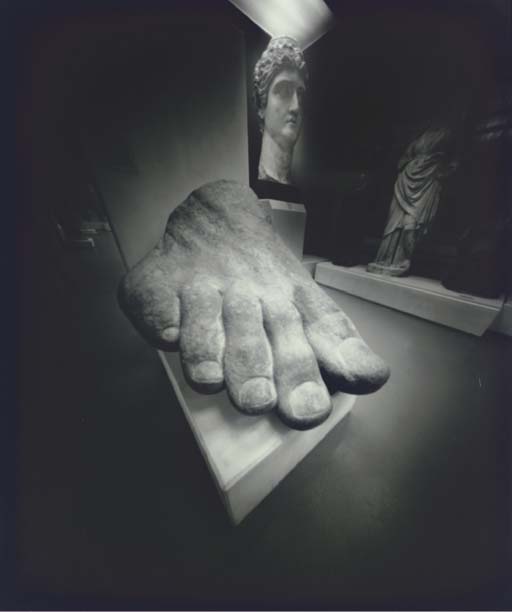
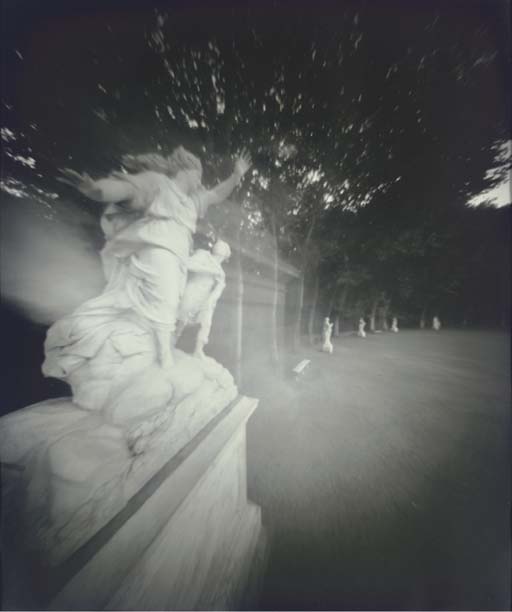
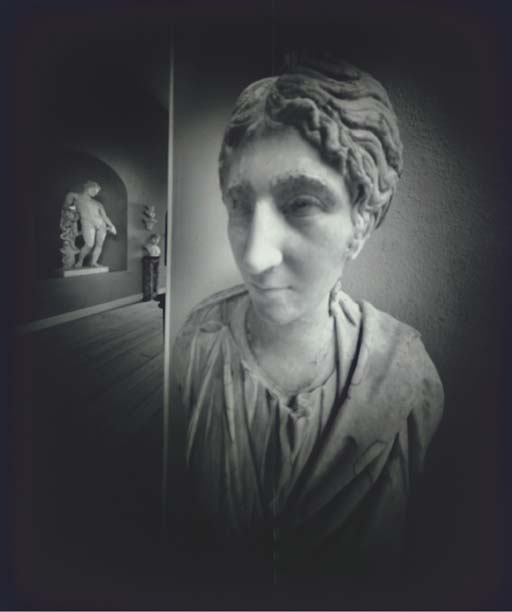
Adam Fuss's - pinhole photos of statues from the British Museum


_____________________________________________________________________________


3/16                 
- Field trip to Central Park and the Met
- In class shooting Assignment #8 (Central Park and the Met)

For next week: -BRING: in camera + textbook
-BRING: ALL of your image files to worn on in the computer
-UPLOAD: images to your Tumblr from Assignment #8.
______________________________________________________________________________

Shooting Assignment #8 –
Central Park + The Met Greek and Roman Galleries

*****Images must be uploaded to your Tumblr BEFORE class begins on 03/23!!!!!!*****
If you are unable to upload before class, please come early to class so that you can upload them to my computer.
Points will be taken off of your grade if your work in handed in late!

Part #1 – Central Park


1)      A group of large rocks
2)      A bridge
3)      A road
4)      A squirrel, duck, or bird
5)      An interesting tree
6)      A view of the city above the trees
7)      A lamppost
8)      A statue
9)      A view of the sky though the trees
10)      A monument

Part#2 – inside the Met
Please do not touch anything and be respectful of other museum viewers

11)      A picture taken in the lobby of the Met
12)      A large statue taken from an extreme “below” view
13)      A small statue, or group of small statues
14)      An hand or foot of a statue
15)      A helmet
16)      A head which is larger than life
17)      A head which is smaller than life (tiny)
18)      A mythical creature
19)      Another mythical creature
20)      A picture of a the interior of a Roman room

BONUS: An interesting reflection in one of the glass cases


- LABEL EACH IMAGE with the numbers and/or titles when you upload to
  your Tumblr.  Your grade will be lowered if your images are not
  labeled!

Thursday, March 8, 2012

03/09/12 - Portraits/Self Portraits

  3/09                 

-In class worksheet - Discussion Topic #6
-In Class Shoot, ASSIGNMENT #7 Part #1
-Read pages 160-163 in book 
Shooting Assignment #7 explained and given – portrait/self portrait
Photographer in-class presentation – Divided into 4 sections (A, B, C, D)

For next week: 
-SHOOT at HOME: Assignment #7 part #2 

-UPLOAD: ALL images to your Tumblr from Assignment #7 

-Field Trip to the Met!
-BRING: in camera!!!!!
-EXTRA: Money for a subway ride

------------------------

Google search - Portraits

Self Portraits group on Flickr

Nadav Kandar "Obama's People"

----------------------

Shooting Assignment #7 – Portraits/Self Portraits
Part #1 - Shoot on City College Campus
Part #2 – Shot at home

*****Images must be uploaded to your Tumblr BEFORE class begins on 03/16!!!!!!*****
If you are unable to upload before class, please come early to class so that you can upload them to my computer. 
Points will be taken off of your grade if your work in handed in late!

Part #1 - On Campus with a partner- portraits of others


1)      A portrait with a white, grey or black background
2)      A portrait with a colored background
3)      A portrait taken using artificial light
4)      A portrait taken using natural light
            - use natural light from now on -
5)      A portrait using light coming form the right side
6)      A portrait using light coming form the left side
7)      A portrait taken from a low angle
8)      A portrait taken from a high angle (above)
9)      A close up of a particular feature of your subject
10)      A portrait taken with your subject looking at the camera
11)      A portrait taken with your subject not looking at the camera
12)      A portrait with a smile/laughter
13)      A portrait without a smile/serious
14)      A portrait that incorporates a reflection
15)      A full body portrait
16)      A portrait showing the subject is on the City College Campus
17)      A portrait showing the subject is relaxed
18)      A portrait that incorporates hands
19)      A portrait that is just hands
20)      A portrait that incorporates motion


- LABEL EACH IMAGE with the numbers (and/or titles) when you upload to
  your Tumblr.  Your grade will be lowered if your images are not
  labeled!


Part #2 – At Home – self portraits

Improvise a tripod for every picture! 
You may need to use your self-timer.

1)      A self portrait including your face
2)             A self portrait without your face
3)             A self portrait without your body physically being in the picture
4)             A picture of something very important to you that defines you
5)             A picture of your room

Thursday, March 1, 2012

03/02/12 - Quiz#5/self-timer/gallery trip/assignment#6


3/02 -                  
-Quiz on pages -Quiz on pages 205-208
-Critique of selected images from Assignment #5 – projected
-In class sketching for better composition
-How to improvise a tripod + use your self-timer
-City College Gallery visit – fill out and turn in worksheet
Shooting Assignment #6 – in class shoot on Campus: handout here

For next week:
 -BRING: in camera + textbook
-EDIT: down photos from in class shoot.  Pick best ones to….
-UPLOAD: images to your Tumblr from Assignment #6

-------------------------------------------------------------------

Shooting Assignment #6
Shoot on City College Campus

*****Images must be uploaded to your Tumblr BEFORE class begins on 03/09!!!!!!*****
If you are unable to upload before class, please come early to class so that you can upload them to my computer.
Points will be taken off of your grade if your work in handed in late!

Improvise a tripod for every picture!
You may need to use your self-timer.

This is a competition for the best example of each!!!!


1)      A picture taken in NAC
2)      A picture taken in Shepard
3)      A picture taken in Marshak
4)      A picture taken in another City College building (not those above)
5)      A picture outside on campus at a low angle
6)      A non-human animal
7)      A campus police officer (you may need to ask their permission)
8)      A college student (you may need to ask their permission)
9)      An action picture
10)      A nature picture
11)      Something historic
12)      Something modern
13)      A reflection
14)      Looking up
15)      Looking down
16)      Stairs
17)      Escalator
18)      Elevator
19)      A classroom
20)      A comfy chair


- Write down where you shot each picture + mark on the map on the back

- LABEL EACH IMAGE with the numbers (and/or titles) when you upload to
  your Tumblr.  Your grade will be lowered if your images are not
  labeled!

Thursday, February 23, 2012

02/24/12 - Assignment#5/Quiz#4/Foreground-Background/Positive-Negative Space/City College Gallery trip


­­­­­­­­­­­­­­­­­­­02/24/12                 


-In class discussion of Quiz #3
-Quiz #4 on pages 18-25 (download here)
-Quick critique of selected images from Assignment #4 – projected
-Review of camera functionsread and discuss pages 205-209
-Demo – using aperture and shutter speed (continued)
-Demo - (if not raining) shoot on City College Campus
-Trip to the City College Art Gallery (with "Discussion Topic" handout)
-In class sketching for better composition
-Shooting Assignment #5 explained and given – figure/ground, positive-negative space (download handout here)

For next week
-RESHOOT and REUPLOAD Assignment #4 if need be (you can use this link to help you remember what we learned)
-BRING: in camera + textbook
-BRING: Files to print
-UPLOAD: images to your Tumblr from Assignment #5
-REVIEW: pages 205-208 – for quiz

---------------------------------------------------------------------------------------------------------------------------------

ASSIGNMENT #5:
6 images due - posted to your Tumblr - before class on March 2nd

****Post 3 images to your Tumblr that illustrate Positive/Negative Space

                   
Top - regular image                  
Middle -  positive space           
Bottom - negative space


******Post 3 images to your Tumblr that illustrate Foreground/Background


Photographic Composition - Background and Foreground

Understanding basic photographic composition will definitely help you start taking better pictures. Background and foreground are two important elements in your photography. You must be aware of everything around your subject and how you want or don't want to include those elements in the photo. Does the foreground add to the composition of the photo? Does the background distract from it? Remember to stop and look around before you push that shutter button.
Background
Have you ever taken a picture of someone only to realize that it looked like a lamp post was growing out of the top of their head. Kind of like this:

To avoid this problem there are a few things you can do.
  • check the area
  • blur the background
Simply checking the area for distracting placement of objects is a good start. Don't make your subject stand with anything lined up with their head. Be on the look out for lights, sign-posts, pillars, or any other funny thing that may look like it's growing from your subject's head.


Another solution is to blur the background. If you blur the background it becomes less distracting. I use this technique a lot. Here's an example:

It makes whatever is behind your subject look like a colorful, abstract backdrop instead of a busy scene that can distract from the photographic composition.
You can blur the background by setting your camera to a low aperture or f/stop. Doing that opens your lens up wider giving you a shallower depth of field. If the background still isn't blurry enough for you with the aperture open as far as it will go try stepping back a little and zooming into your subject. I do this a lot too and I like the extremely blurry effect it gives the background.


Foreground
Foreground is an often-ignored element of photographic composition that can really add to a picture. Looking for objects around your subject can add to the story you're trying to tell in your photography. The trick is to add these elements into the picture in a way that adds to and doesn't distract from the image.
You can use foreground to give your subject context. It can be used to show the size of your subject. It can help show location. Foreground can also be used to frame your subject.
Here's an example of my use of foreground.

Thursday, February 16, 2012

02/17/12 - Aperture/Shutter Speed/Depth of Field/Shooting Assignment #4


2/17/12                 

-In class discussion of Discussion Topic #2
-Quiz on pages 147-151
-Quick critique of selected images from Assignment #3 – projected
- Shutter Speed + Aperture and Depth of Field sections of book (pg. 13-25) read
and discussed
- Andy's Handy Exposure Calculator assembled (download here)
- Shooting Assignment #4 explained and given – Focus on aperture and shutter speed download handout here

For next week:
-BRING in camera + textbook
-UPLOAD images to your Tumblr from Assignment #4
-COMPLETE: questions on handout for Discussion Topic #3 – turn in
-REVIEW: pages 13-25 – for quiz

-------------------------------------------------------------------------------------------------------

Shooting Assignment #4

Focus on Composition
foreground/middle-ground/background + capturing motion
REFER TO YOUR BOOK pages 13-25 for example images
(due posted to your Tumblr before class on 02/24)


·      Shoot images that fulfill these criteria and post FIVE (5)

Image 1 - Use a large aperture to make something in the front of the picture (foreground) in focus, the rest (middle-ground/background) out of focus.

Image 2 - Use a smaller aperture to make everything (foreground/middle-ground/and background) in your picture be in crisp focus.

Image 3 - Use a fast shutter speed to stop motion

Image 4 - Use a slow shutter speed to show motion

Image 5 - Use a slow shutter speed and pan your camera to create the feeling of motion behind a still subject.

----------------------------------------------------------------------------------------

ADDITIONAL IMAGES:
foreground/middle-ground/background and Depth of Field

Mark Cohen - Untitled (large aperture to capture shallow Depth of Field)


Helen Levitt - NYC 1970's (medium aperture to capture medium Depth of Field)
Lee Friedlander - NYC 1980 (small aperture to give you lots of Depth of Field)


Philippe Halsman (1948) - Salvador Dali (fast shutter speed to stop motion)
From Extra Medium - (slow shutter speed + stationary camera to show motion)
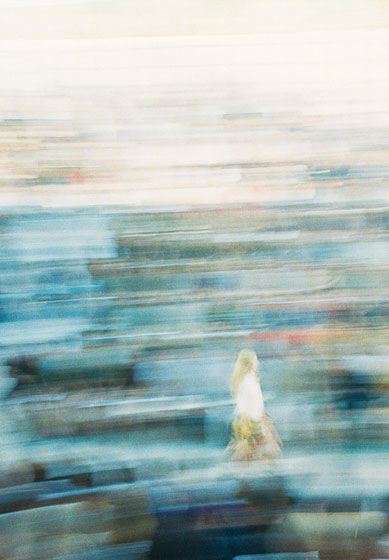
Pari Dukovic - spring 2012 fashion show (Slow shutter speed to show motion + Panning)